
I have always liked Conway's Game of Life, at least since I'd heard of it.
I decided that rather than try to stumble my way through it and get frustrate I would find a working version and rewrite it. Similar to copy and paste but I would actually go through the code and try to understand it. I would be able to add comments where I needed and could fiddle with variables or make small updates as well. I mainly work with C# but for this I decided to look into multiple languages to see how they all differ in recreating this simulation.
The three languages I will be using are: C#, python, and javascript. I have some experience with javascript and canvas but barely any knowledge of python. By the end of this I hope to be understand fully how the simulation is built and have at least a basic understanding of how each implementation handles things differently.
First thoughts after seeing the source code. Yikes! Way more complicated than I had anticipated. It might just be verbose or stylistic choices I am not used to though. The project opened and ran just fine so I know it works.
My first task is to find where to start. There are several projects in the solution.
I started with the Life.DataLayer project and just the LifeGame class. I just created the class as part of my form project instead of creating a class library.
Nothing too exciting. I changed a few variables here and there and removed a few options. I also noticed the code used the private members instead of public properties. I get that it's in the scope but wasn't sure if it was just something I am not used to doing that way. I switched to all properties. Maybe if there is a reason later I can circle back to it.
I ended up not splitting things into separate modules like the original. The code consists of a user control, a class, and a form. The form has all the options and the user control. The user control has the code to draw on itself. This sets a pixel at a time to one color or another. The class has the logic that determines what state everything is in.
The original code was a bit...loose with parenthesis and got me turned around in a few places. Once I worked out those kinks I stripped out a good chunk of functionality, like the menu and zooming. I added a few new things though, like changing the colors and adding a glider instead of just a pixel. I also added some checks to prevent infinite looping if repeating sequences are found.
Really the only hard part was understanding the logic of what value a coordinate was. The drawing and flipping of values was just loops within loops, which makes sense. The program isn't foolproof. There may come a time where it runs out of bounds on an integer or some other variable. I am happy with it though and it's kind of mesmerizing to watch.
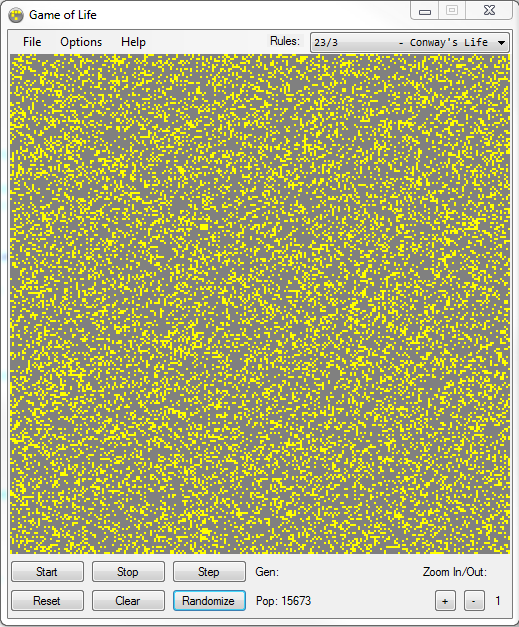
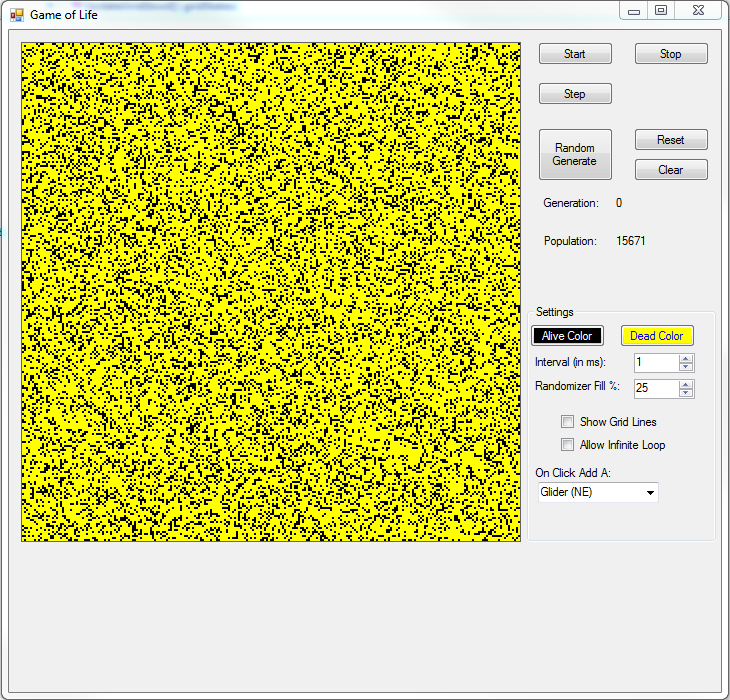
View of the original and my recreation.
I found a few examples but many no longer had the source code available. I started with this version: Problem: Simulating the Game of Life. In the end it's the only one I used because the others were using custom libraries for the display and I didn't want to do that.
I first started by copying the code verbatim to make sure it did work. I figured I would have trouble getting things working since I'd never used Python in Visual Studio before. Turns out I didn't even have a Python interpreter installed. I installed Python 3.6.1 and now I can get started. Even after installing Python Visual Studio made me manually add the interpreter to the project. At least the documentation they led me to was accurate and I was able to add it, but I had to tell it that it was Python 3.5 since that was the last version VS recognized.
Anyways I was able to debug and run and see how it looks. First impressions: very different from the C# version, very slow. Each action took a very noticeable amount of time. It was accurate and functional though.
I started by looking at the code line by line and right away I ran into differences from C# that just make it seem odd. First the imports. I know that they are like C# using but how do you know what to use!? I had a similar issue when I began learning .NET and not knowing how to find the right libraries. Next there is a variable for the cell size (in pixels). Right away I noted there is no type and no access modifier. I know Python uses dynamic variable but then I wondered what this meant for this variable. Is it global? Are all variables global or just this one? These aren't questions I will answer here but clearly things I can save for later learning.
Right away I noticed the Python code is very terse. There are no curly braces for ifs or functions. I know that C# can omit them (and I detest that syntax) but Python doesn't appear to use them at all and uses indentations to delimit everything. While I hate that aspect of the code I do love the way that Python handles loops. The code below sets random cells alive (after setting all to dead).
def makeRandom(self):
self.erase()
for i in range(0,self.x):
for j in range(0,self.y):
if random.random() > 0.5:
self.set(i,j)
Excuse the wonky formatting (each space before a line is supposed to be a tab). The range syntax is really nice and still intuitive. It's something I wish C# did better. The only example I can think of is prepopulating a number list with 10 integers in C# vs Python. With C# I don't know of a simple syntax similar to range(0,10) and would instead create a for loop that spans several lines. I know it's a silly little thing but it's so convenient.
Unfortunately I didn't learn much with the Python version. I did get a bit of exposure to the syntax but that isn't really the hard part of a new language. The one thing I noticed was that even though everything was more compact the speed it runs at is very slow. At least part of this is the rendering. Adjusting a few settings to render more/less pixels has a dramatic effect on the display's speed. If I adjusted them by half the original pixel size it usually freezes if you try to use any of the functionality. This might be an issue with my machine or it could be the way it's written.
I could (and did) add more key bindings but I don't know how to do the same visually. Based on the way everything is being drawn I am assuming that it's a chore to do, at least it looks like it would be. The logic for this one is a bit different and I can understand why it's slower.
In the C# version there is a large string collection. Essentially an array of ones and zeros. In the python version there is a collection that contains pairs of coordinates that correspond to alive pixels. This reduces the number of items in each loop (usually) but looking up a key in the collection likely takes a lot longer than checking the location in an array. The drawing functions are probably another slowdown. I had considered trying to modify it more to the way the C# code is but it's just so different I think it would practically replace everything. I don't particularly like anything about it so I am going to leave it. I was able to understand it and that is enough for me.
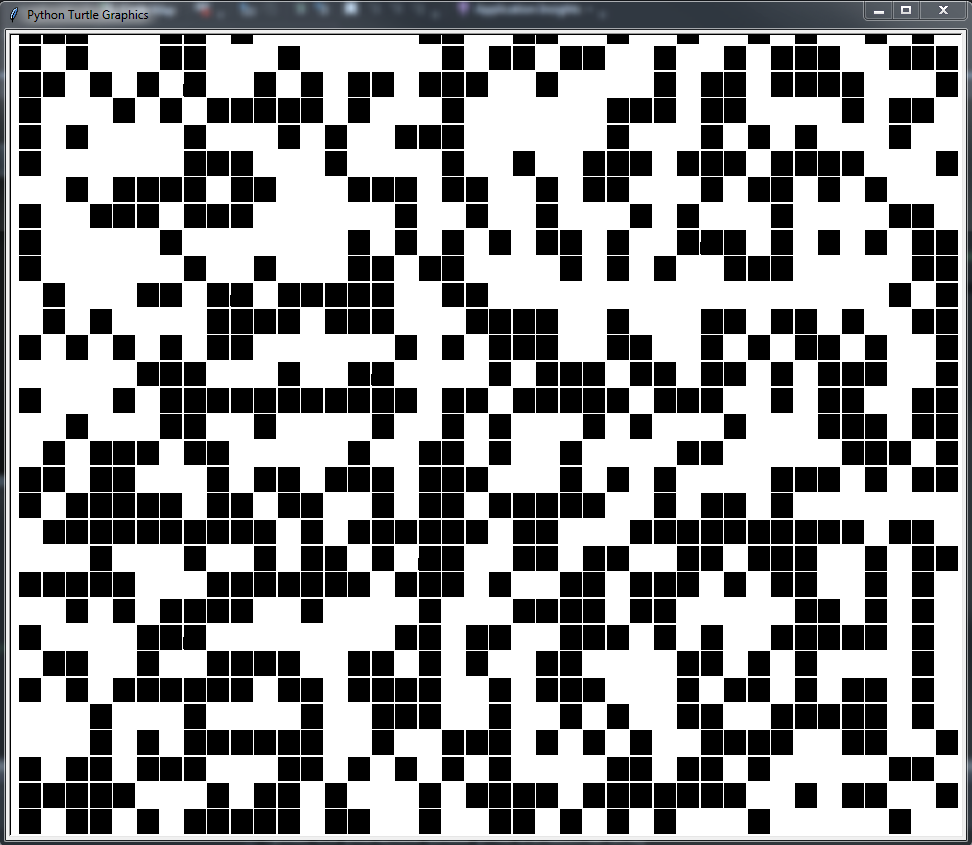
The image below shows what it looks like on the screen. Nothing special but definitely a big difference to the C# form.
The first thing I did was set up a page on the site to run it. I was actually very excited about this version. I love javascript (usually) and canvas. For a little bit I tried to see how much I could do on my own. I have seen and been through the logic enough that I had a pretty good idea but I still wasn't able to just recreate it on the fly. After I had the page set up with the canvas and the buttons I began to look at the source to piece together what I missed.
I started by copying the code verbatim. Instead of testing it immediately with the markup that was used I began updating it to align it with my markup. I adjusted and added functions where needed. I got it to the point where it would adjust a cell but it was doing so far from where I clicked. Part of it is that my canvas is not in the upper left and I need to adjust the mouse events to align with where my canvas is. This is the tedious part of figuring out which variable is off and how to adjust it back to where it should be. I had to do something similar when I did a little project in canvas before. I referenced my version of the events and compared them to the code here and then checked while debugging if any of the maths added up. Unfortunately none of it did. The structure of my old code was also different enough that it appeared to not work here. Eventually I found the right coordinate values and upon running it all worked. Well much of it worked. There were a few kinks with the settings that I had created but the logic was sound.
The actual code to flip alive and dead states are extremely similar to the C# version. A loop of one axis within a loop of the other axis (width, height). My laziness got the better of me and I used some jquery for selectors. The rest is just regular ol' javascript.
You can try it yourself on this page.
It works but I wasn't as thrilled about the end result. I felt like there was a lot that could be polished up but I just didn't want to put the time in to do that. The settings work so I got that going for me. It does function in the Chrome, FireFox, and IE 10 but the layout doesn't seem to stay the same between them all.
One thing that the javascript version did that the others did not do was wrap the edges. If something went off to the right it would appear on the left. I thought that was neat but I didn't look into which specific calculation did that.