
i wanted to create an image using an SVG file. I am not an artist or anything and I don't expect to have a super deep understanding of how to create images. I just wanted to say that I could and if I need it sometime in the future I could create a useful file or at least know what I am looking at.
To start I had to look up how to even make an SVG file. I mean I know what it is but having never made one I didn't even know where to begin. Initially I found articles related to creating a vector graphic with a GUI like Adobe Illustrator. I knew that SVG was text though and that is what I was trying to find more about. Eventually I found a site with many examples and explanations that proved very helpful. The site is Pocket Guide To Writing SVG.
I opened up CodePen in a new tab and started reading the examples on the site. The nice thing is that SVG is XML. I know XML (enough to be dangerous)! So it made a lot of sense from that standpoint. As I read through the examples and saw what the basic elements were and what attributes were available I started to create my own elements instead of just changing the examples.
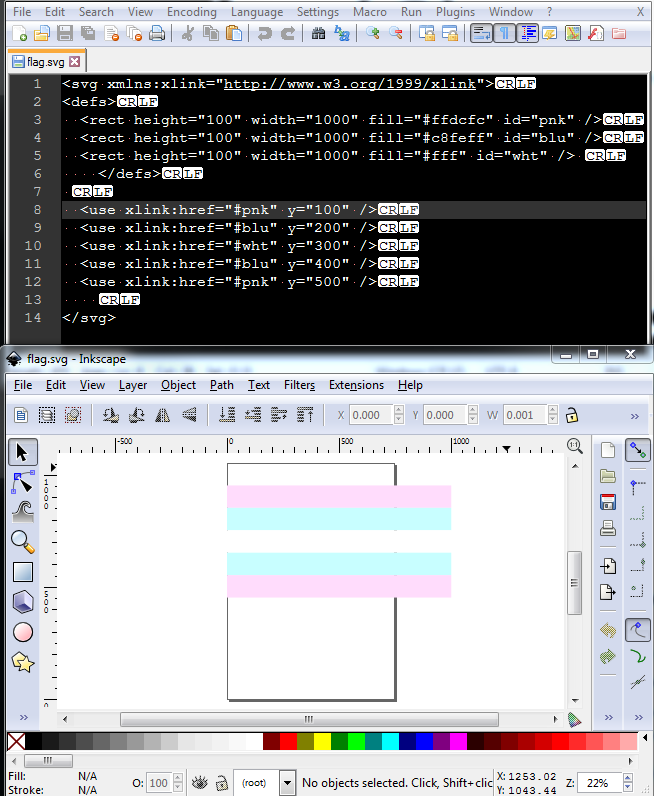
My first image I had in mind was to create a rectangle with 5 horizontal lines. A flag. I knew that 2 of the lines were going to repeat so I created the rectangles in a <def> tag so that I could reuse them. I had guessed (fairly closely) at the colors I needed but eventually just looked up the hex codes for this flag. The biggest issue I had was that I was trying to fill a <rect> with the defined graphics but it didn't work. Eventually I figured out that I needed to use the <use> tag instead. It was incredibly simple and I made my first SVG just like that. I had to do a bit of tweaking on the proportions to get it to a 1:2 ratio (500x1000).
I took a screenshot of the SVG text and the output when opened with Inkscape.
Obviously I was not satisfied with creating 5 straight lines. I decided I would try something much more complicated. The first task was picking an image. I usually use an image of Mario when I am testing things but I am sick of that. This time I chose Gir (from Invader Zim).

The first task after finding an image was to try to break it down into reasonable chunks. I can see I will need several basic shapes: rectangle and circle. There are a lot of curves though and I am not entirely sure of the best order to create things in.
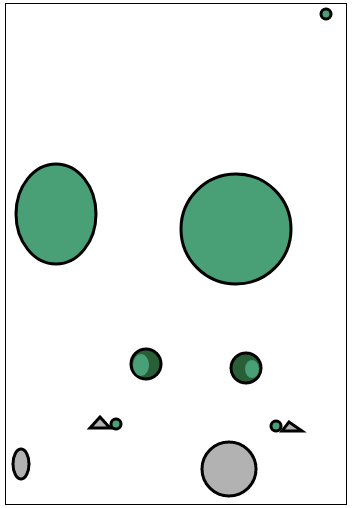
To start I did the simplest shapes. The circles for the eyes, feet, antenna, and shoulders/wrists. I placed them (roughly) where it appeared to be in the image.
I also defined every graphic so that could include it. This might not really matter but I figured at the least it would help with reordering things if I needed to.
Here is what I had after doing those shapes. I guessed close enough to the colors and rough placements. I know it's not perfect because the border is the actual size. I can adjust elements later though. Figuring out how the polygon creates a triangle was a bit of a trial and error nightmare.
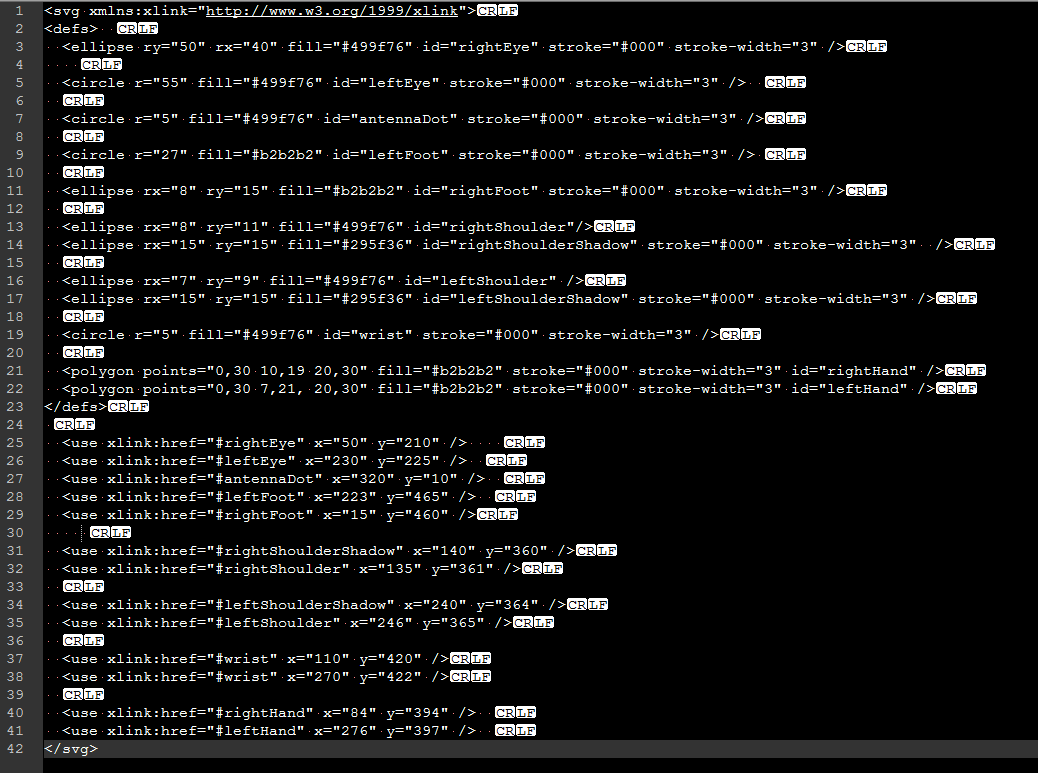
One thing I learned after I had been using two elements at a time, one for the outline and one for the filling, was that it was so much easier to just use the stroke attribute. It simplified things a lot. Sure the original image doesn't have perfectly even strokes but I am not going to spend a lifetime trying to replicate it down to the pixel. One thing I don't really mind is having to adjust the coordinates manually. I know with a GUI it would be super easy but I usually guess close enough and I like that feeling of control.
That was all the easiest things I could think to do. My next challenge is to actually get the head and body created.
With a lot of patience I was able to figure out how to get some curved lines in place. It's very rough but it's close enough to get the idea for now. The big issue is the filling. I haven't figured out how to get that in place and my best idea for now it so make simple shapes with the fill color.
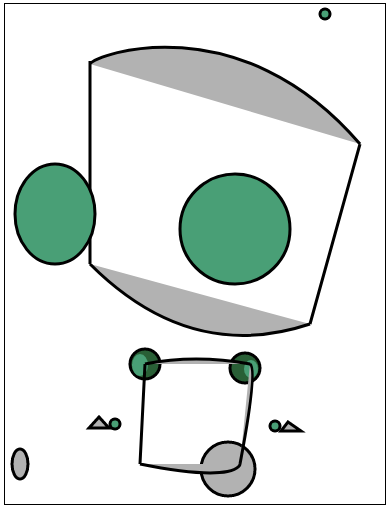
The last part is all the small things: arms, leg, neck, mouth, antenna, body plate, and eye socket. For many I just used simple lines and a rectangle for the body piece. I end up with this monster so far.

While it isn't truly complete I don't have the will to continue anymore. For the simple stuff it wasn't an issue but figuring out the curves and where would be filled in. That was just awful. Had I used a GUI to try this I think I could have achieved slightly better results because I could see where the GUI was placing points and how it affects the curves and fillings. It was something outside of my expertise though and I think I did get at least a close enough representation that it is recognizable. Obviously I never moved any elements around to get the perfect proportions either. The line widths being so consistent also made it lose a bit of that 'drawing' feeling that the original image had.
Things I learned: it's actually pretty easy to create basic shapes, lines, and filling/coloring. It's hard to figure out the curves and how that affects filling. The GUI is likely better but if I had an end image and needed to change a color or tweak a specific element it might (depending on what the program outputs) be able to do so from a text editor.
Overall I would say I am 80% satisfied with what a did and I think given unlimited patience and time could have gone much farther.